Create personal AI Agent - 6
Local LLM တွေအကြောင်းပြောပြီးပြီမို့ ဒီတစ်ပတ်မှာတော့ Cloud ပေါ်က LLM တွေအကြောင်းပြောပါမယ်။ Local Model တွေလို Hardware မလိုအပ်ဘဲ Browser တစ်ခုထဲနဲ့ပဲ နောက်ဆုံးပေါ် LLM Model တွေကို စမ်းသပ်နိုင်တာက Cloud Inference ရဲ့ အားသာချက် ဖြစ်ပါတယ်။
လူသုံးများတဲ့ Cloud AI Platform တွေထဲမှာ Microsoft Azure AI Foundry, Google AI Studio, AWS SageMaker, NVIDIA API Catalog (NIM), Hugging Face Inference Providers စတာတွေ ရှိပါတယ်။ Inference Provider ဆိုတာ LLM Model တွေကို Run ထားပေးပြီး API ကနေ အသုံးပြုနိုင်အောင် Service ပေးတဲ့ Platform ဖြစ်ပါတယ်။
GitHub Models Service ကိုတော့ Microsoft က ၂၀၂၆ ခုနှစ် ဇူလိုင်လမှာ ရပ်နားခဲ့ပါတယ်။
ဒီနေ့မှာတော့ Credit Card မလိုပဲ မြန်မာပြည်ကနေ လိုက်စမ်းလို့ ရမယ့် NVIDIA Inference, Google AI Studio တွေနဲ့ စမ်းကြည့်ကြပါမယ်။
ဘယ် Inference ကို ပဲ သုံးသုံး သဘောတရားကတော့ အတူတူပါပဲ။
ပထမအဆင့်က LLM/SLM Model ကို ရွေးရမယ်။ ဘယ်လို ရွေးရမလဲ ဆိုရင် အရင် သင်္ခန်းစာတွေမှာ ပြောခဲ့တဲ့ အတိုင်း
- ဘာလုပ်မယ့် Application လဲ
- Text only လား
- Multimodal လား
- Context Window ဘယ်လောက်လိုလဲ
- Token Price ဘယ်လောက်လဲ
- Response Speed ဘယ်လောက်လဲ
- Benchmark က ဘယ်လောက်ကောင်းလဲ
ဆိုတာတွေဟာ Model ရွေးချယ်တဲ့ နေရာမှာ စတင် စဥ်းစားရမယ့် အချက်တွေပါ။
Model ရွေးပြီးရင် ဒုတိယ အဆင့်က Inference မှာ Create Deployment လုပ်ရမှာပါ။ Deployment ပြုလုပ်ပြီးတာနဲ့ Endpoint URL ကို ရရှိပြီး API Key နဲ့ Authenticate လုပ်ကာ အသုံးပြုနိုင်ပါတယ်။ ဒါပါပဲ။
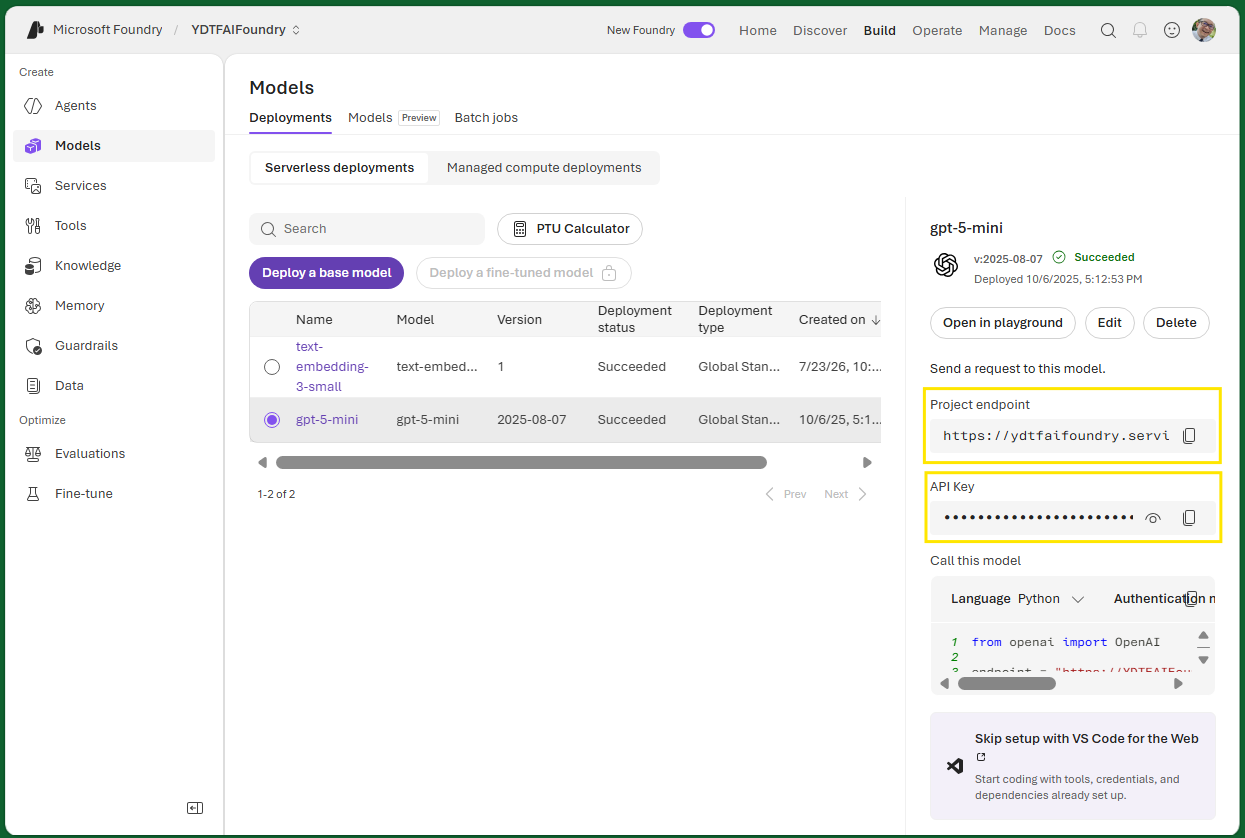
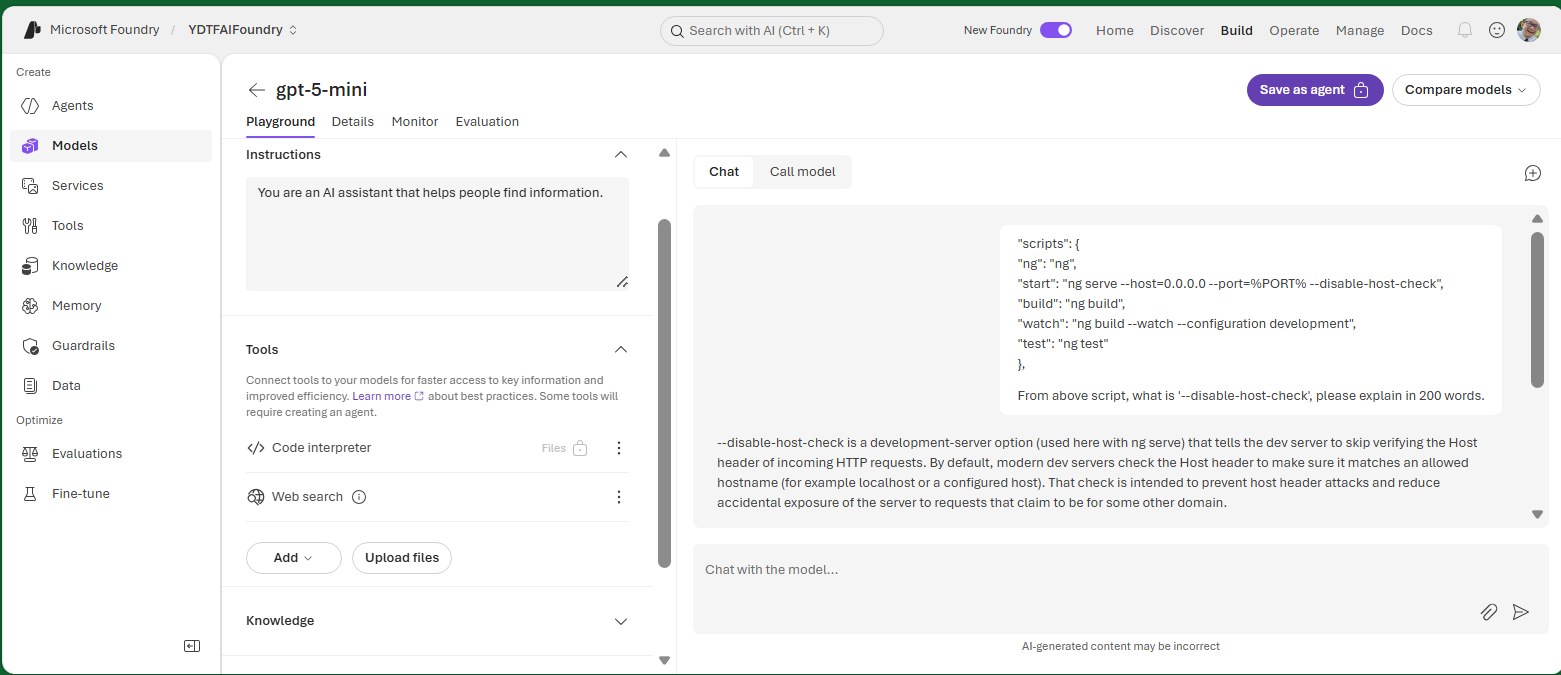
တတိယ အဆင့်ကတော့ စမ်းဖို့ပါပဲ။ Production Grade Inference Provider ကြီးတွေမှာ Coding မလုပ်ခင် Playground မှာ Prompt တွေကို စမ်းပြီး Model ရဲ့ အရည်အသွေးကို အရင်စစ်ဆေးနိုင်ပါတယ်။
Inference Provider အပေါ်မူတည်ပြီး Guardrail, Web Search, Tools Calling, File Search, Code Interpreter feature တွေကိုပါ တစ်ခါထဲ Integrate လုပ်ပြီး စမ်းခွင့်ပေးပါတယ်။ အောက်က ပုံက Microsoft AI Foundry က Playground နမူနာပုံပါ။
Hands On with NVIDIA
NVIDA က Developer တွေစမ်းဖို့ Developer Program ဆိုတဲ့ အစီအစဥ်တစ်ခုကို ဖွင့်ပေးထားပါတယ်။ အဲဒီမှာ Model အချို့အတွက် Free Inference Endpoint Url တွေလည်း ပေးထားပါတယ်။


ပထမဆုံး https://developer.nvidia.com ကို သွားပြီး Account တစ်ခုကို ကိုယ်ပိုင် email နဲ့ Register လုပ်ရပါမယ်။
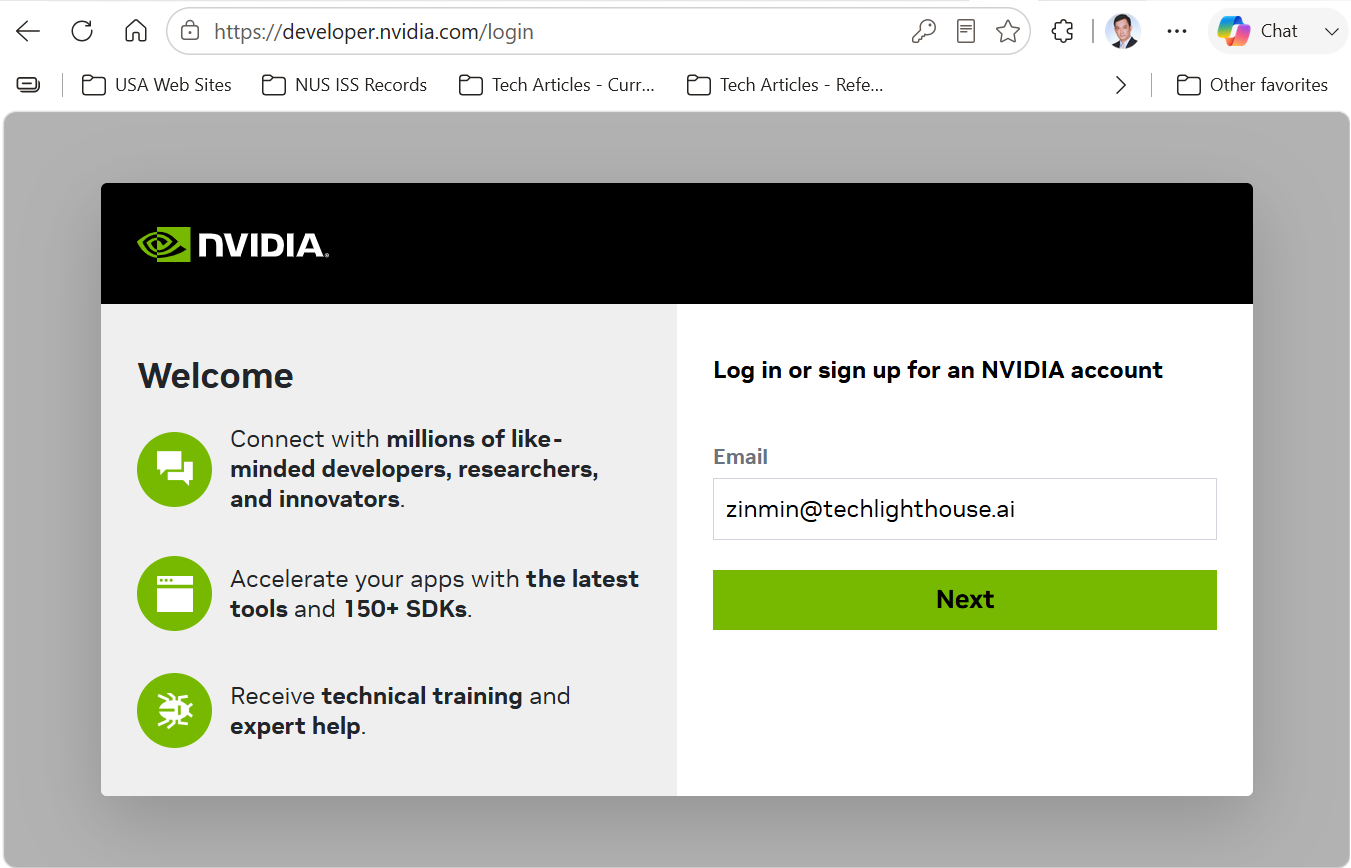
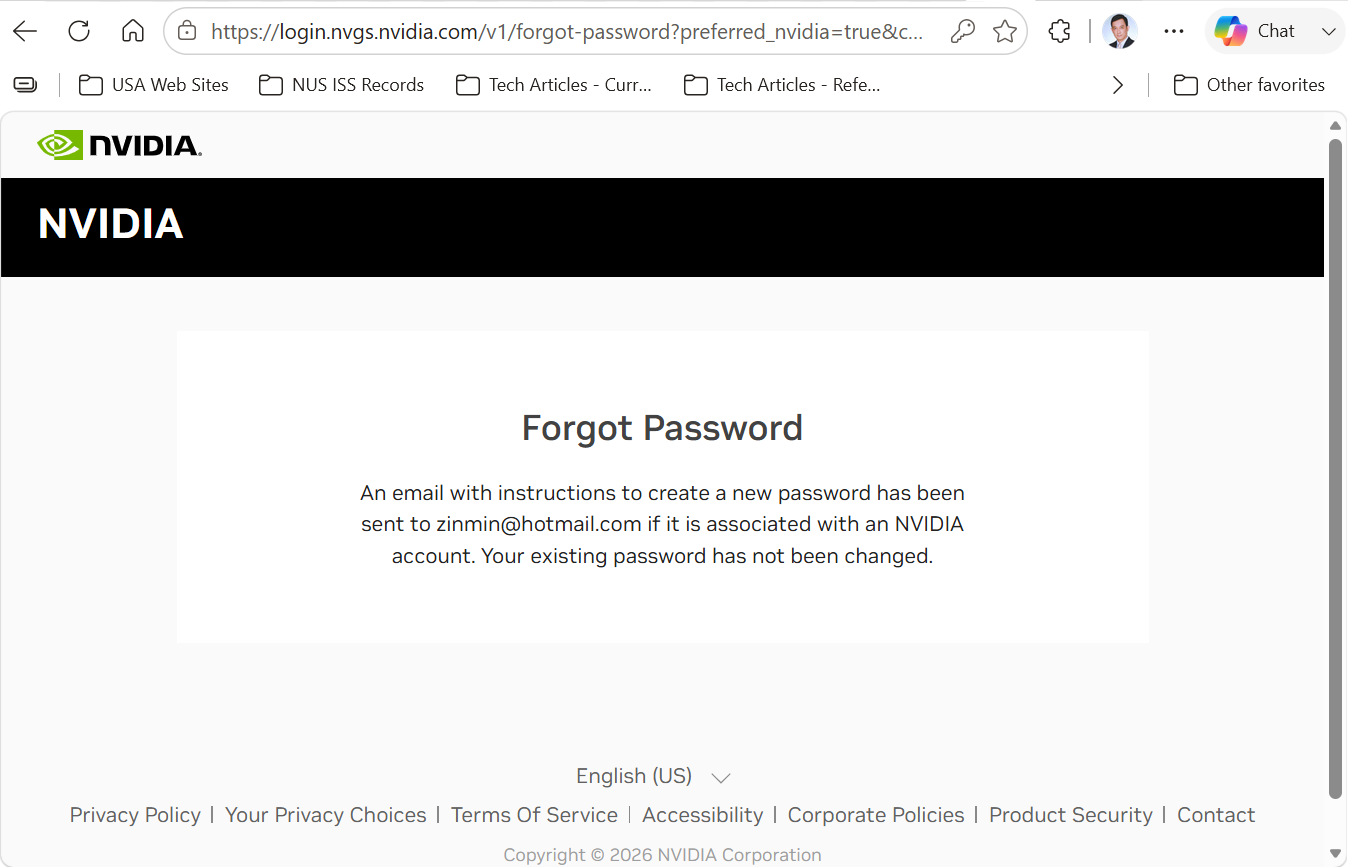
Sign Up လုပ်ပြီးတာနဲ့ NVIDIA က Account လုပ်ထားပေးပြီး Forgot Password နဲ့ Password အသစ်တစ်ခု လုပ်ပြီး ဝင်ရပါတယ်။
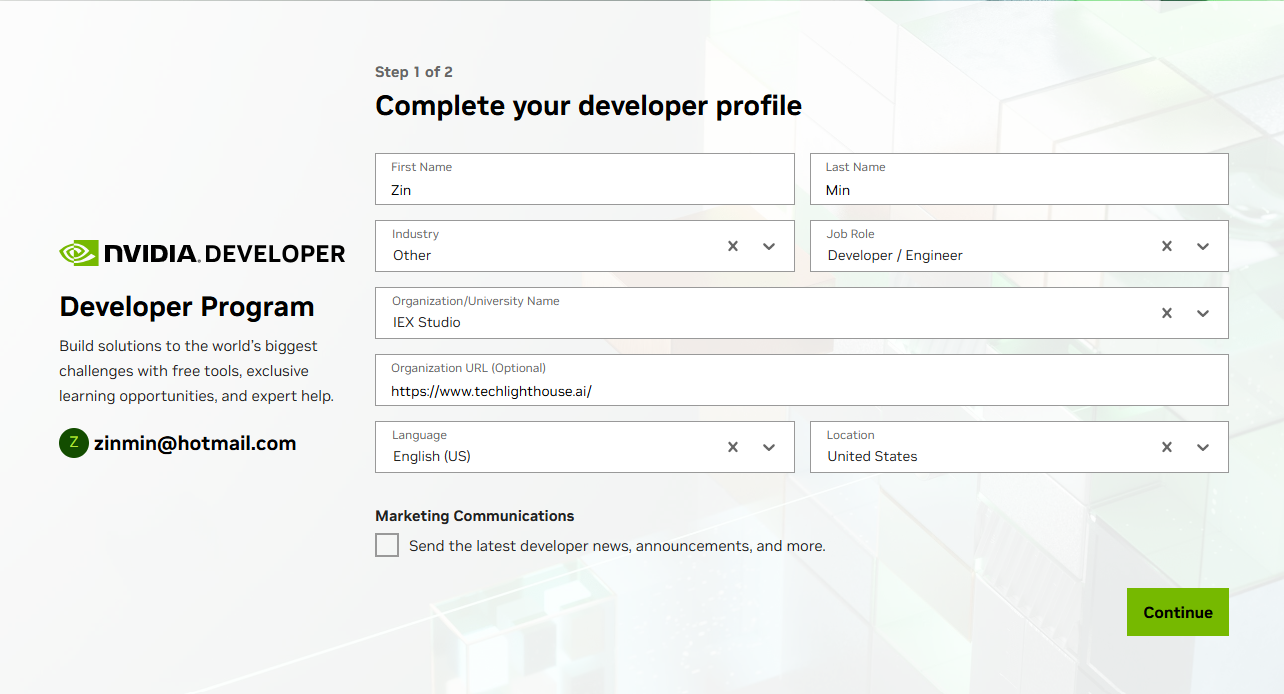
ပြီးမှ ကိုယ့်ရဲ့ Information တွေကို ထည့်ရတာပါ။
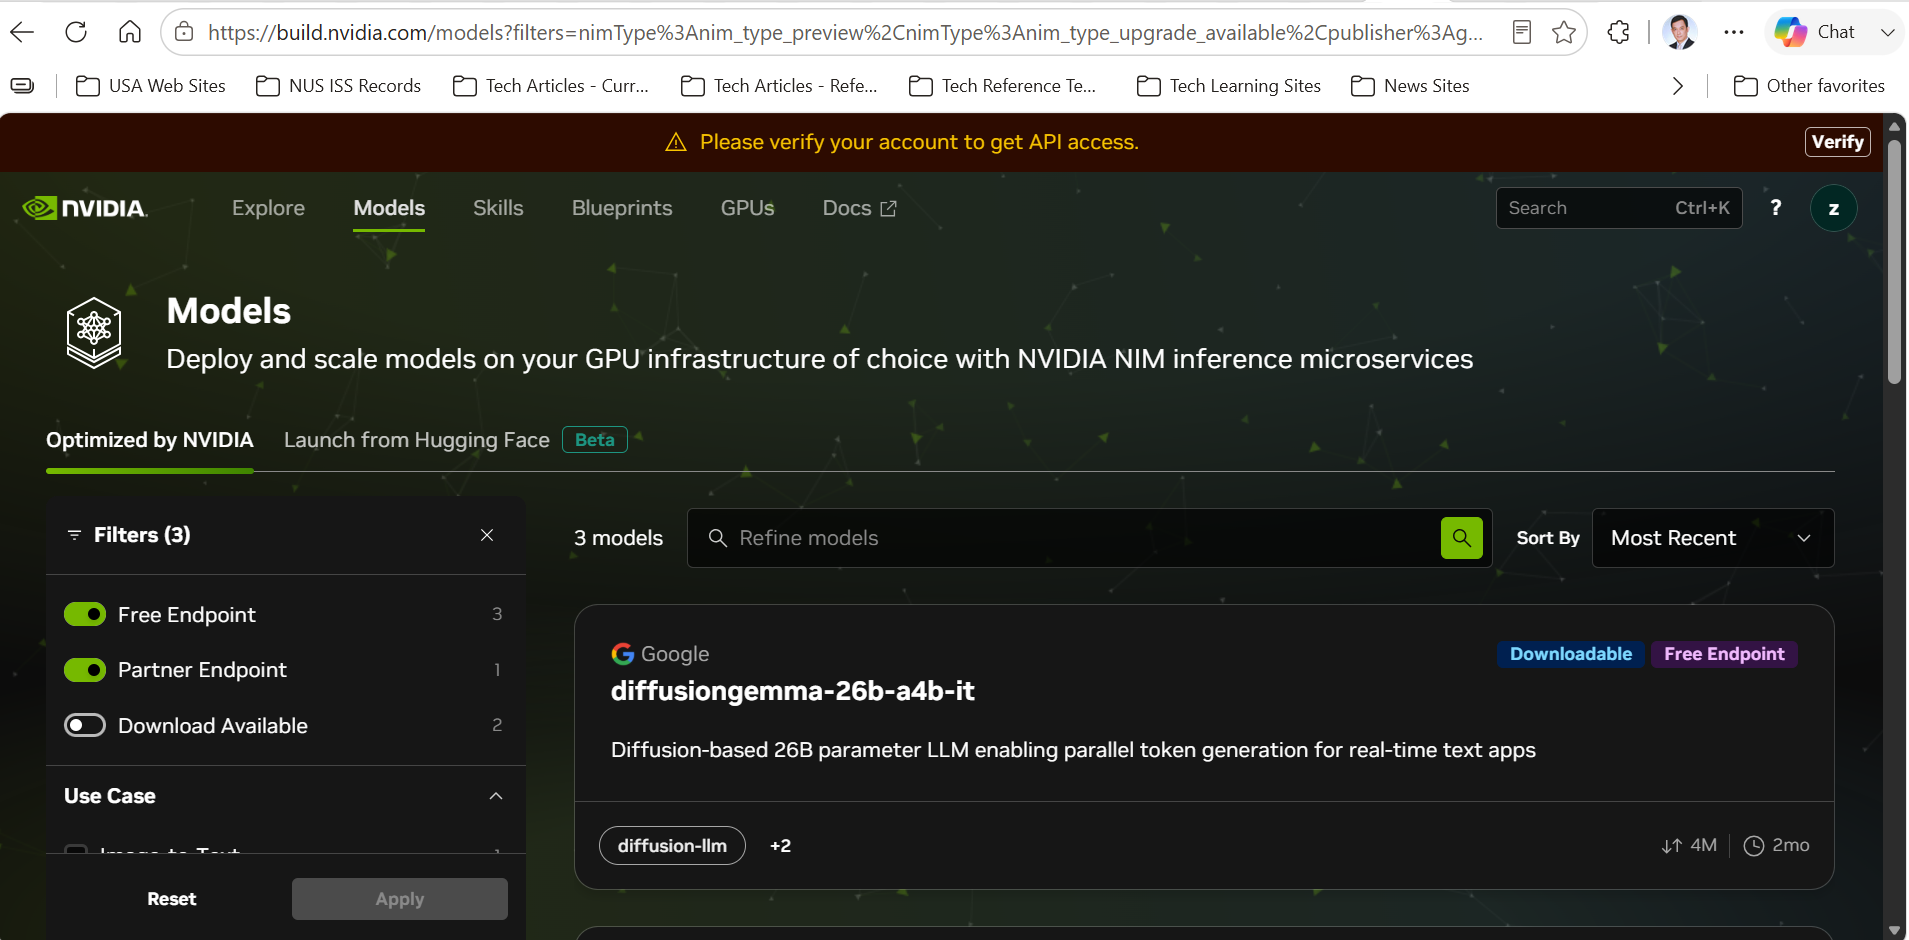
Log-in ဝင်ပြီးသွားရင်တော့ https://developer.nvidia.com/models ကို တိုက်ရိုက်သွားပြီး Free Endpoint Url Model တွေကို စမ်းလို့ ရပါပြီ။ ဒီနေရာမှာ Popular ဖြစ်နေတဲ့ LLM တွေဟာ စမ်းနေတဲ့သူတွေများလို့ Quing Time ကြာပါတယ်။ သင်္ခန်းစာတွေ လိုက်လုပ်ဖို့ အတွက်ဆိုရင်တော့ openai/gpt-oss-20b လည်း အဆင်ပြေပါတယ်။
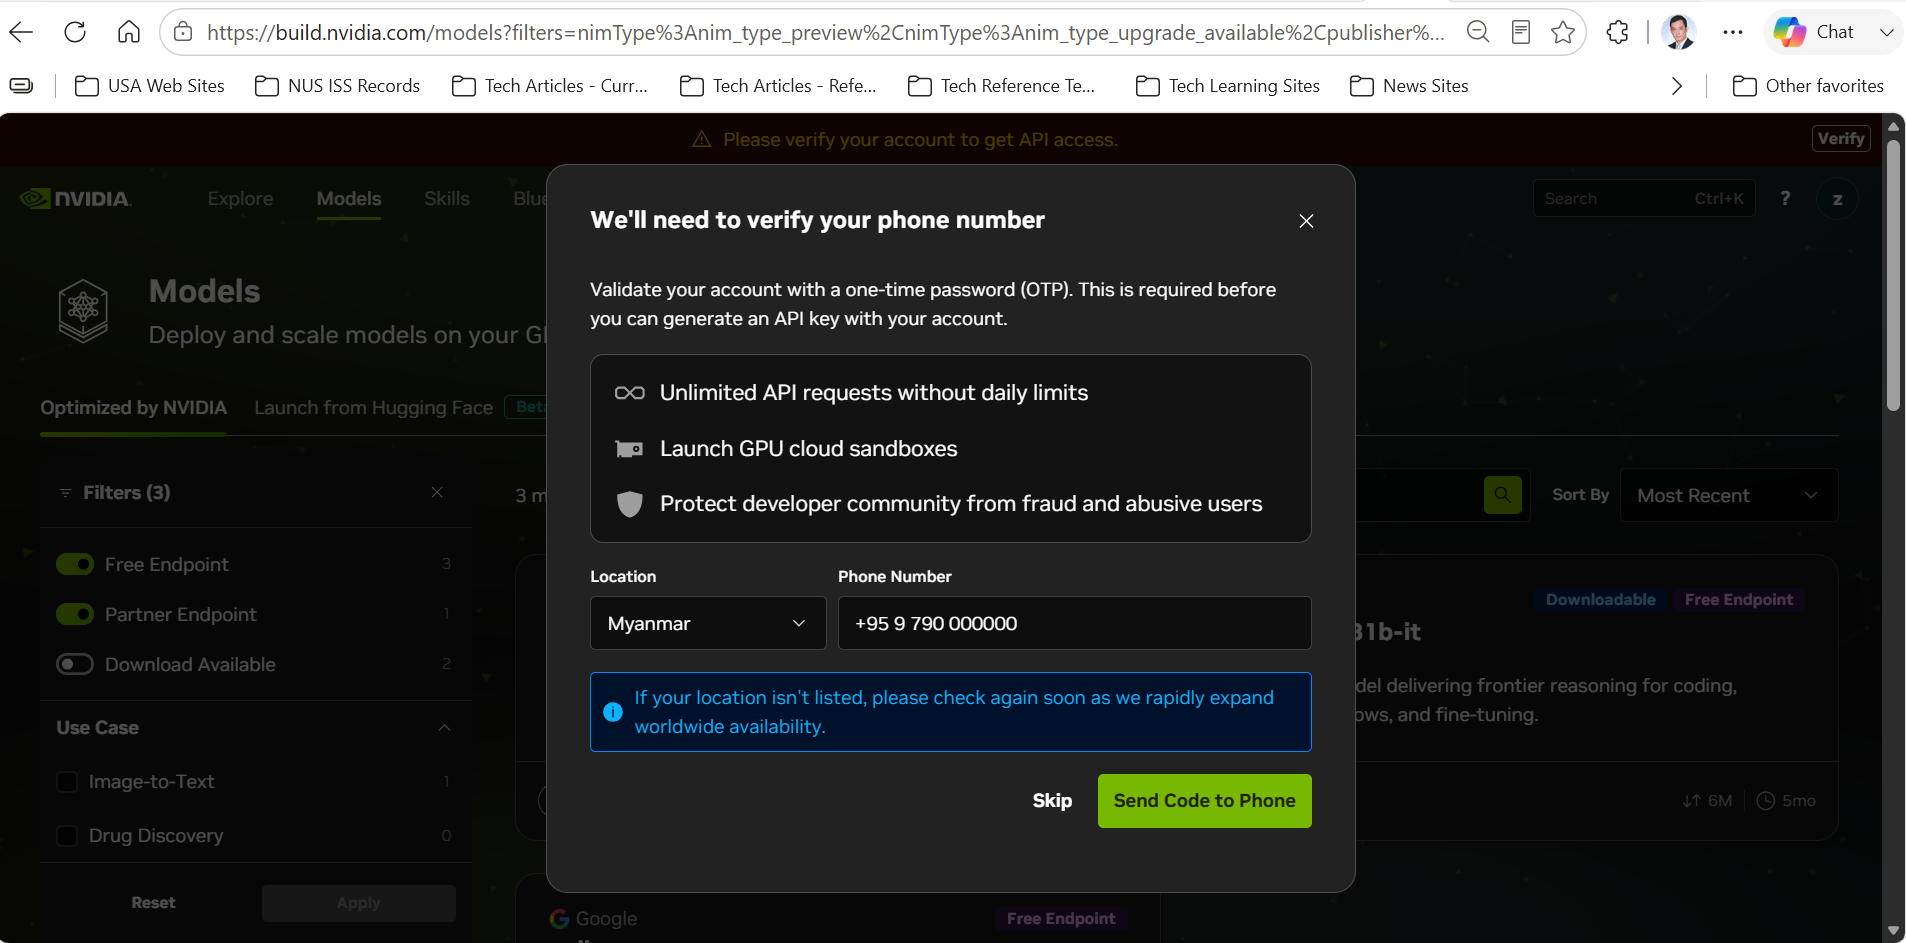
NVIDIA မှာ API Key ယူဖို့အတွက်တော့ ဖုန်းနံပါတ်တစ်ခုနဲ့ Verify လုပ်ရပါတယ်။ မြန်မာ ဖုန်းနံပါတ်နဲ့လည်း ရပါတယ်။
ကိုယ်ရဲ့ API နဲ့ မချိတ်ဆက်ခင် သူ့ရဲ့ Playground ကနေ ရလဒ်တွေကိုလည်း စမ်းကြည့်လို့ ရပါတယ်။
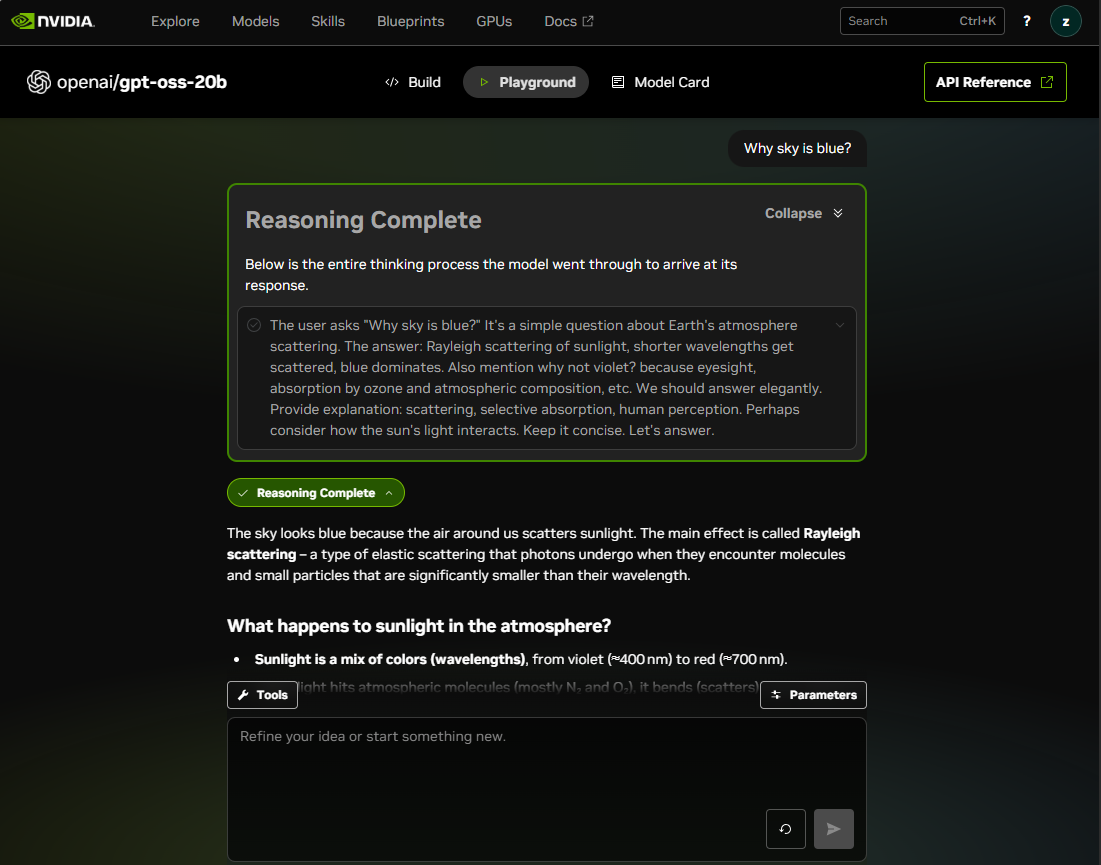
ကိုယ့်ရဲ့ Agent နဲ့ ချိတ်ဆက်ပြီး စမ်းဖို့အတွက်က Generate API Key ဆိုပြီး နှိပ်ရင် သူက API key တစ်ခုကို ထုတ်ပေးပါတယ်။ ပြီးတော့ Coding ဘယ်လို ရေးရမယ် ဆိုတာတွေ အတွက်လည်း နမူနာ Code တွေ ရေးပေးထားပါသေးတယ်။
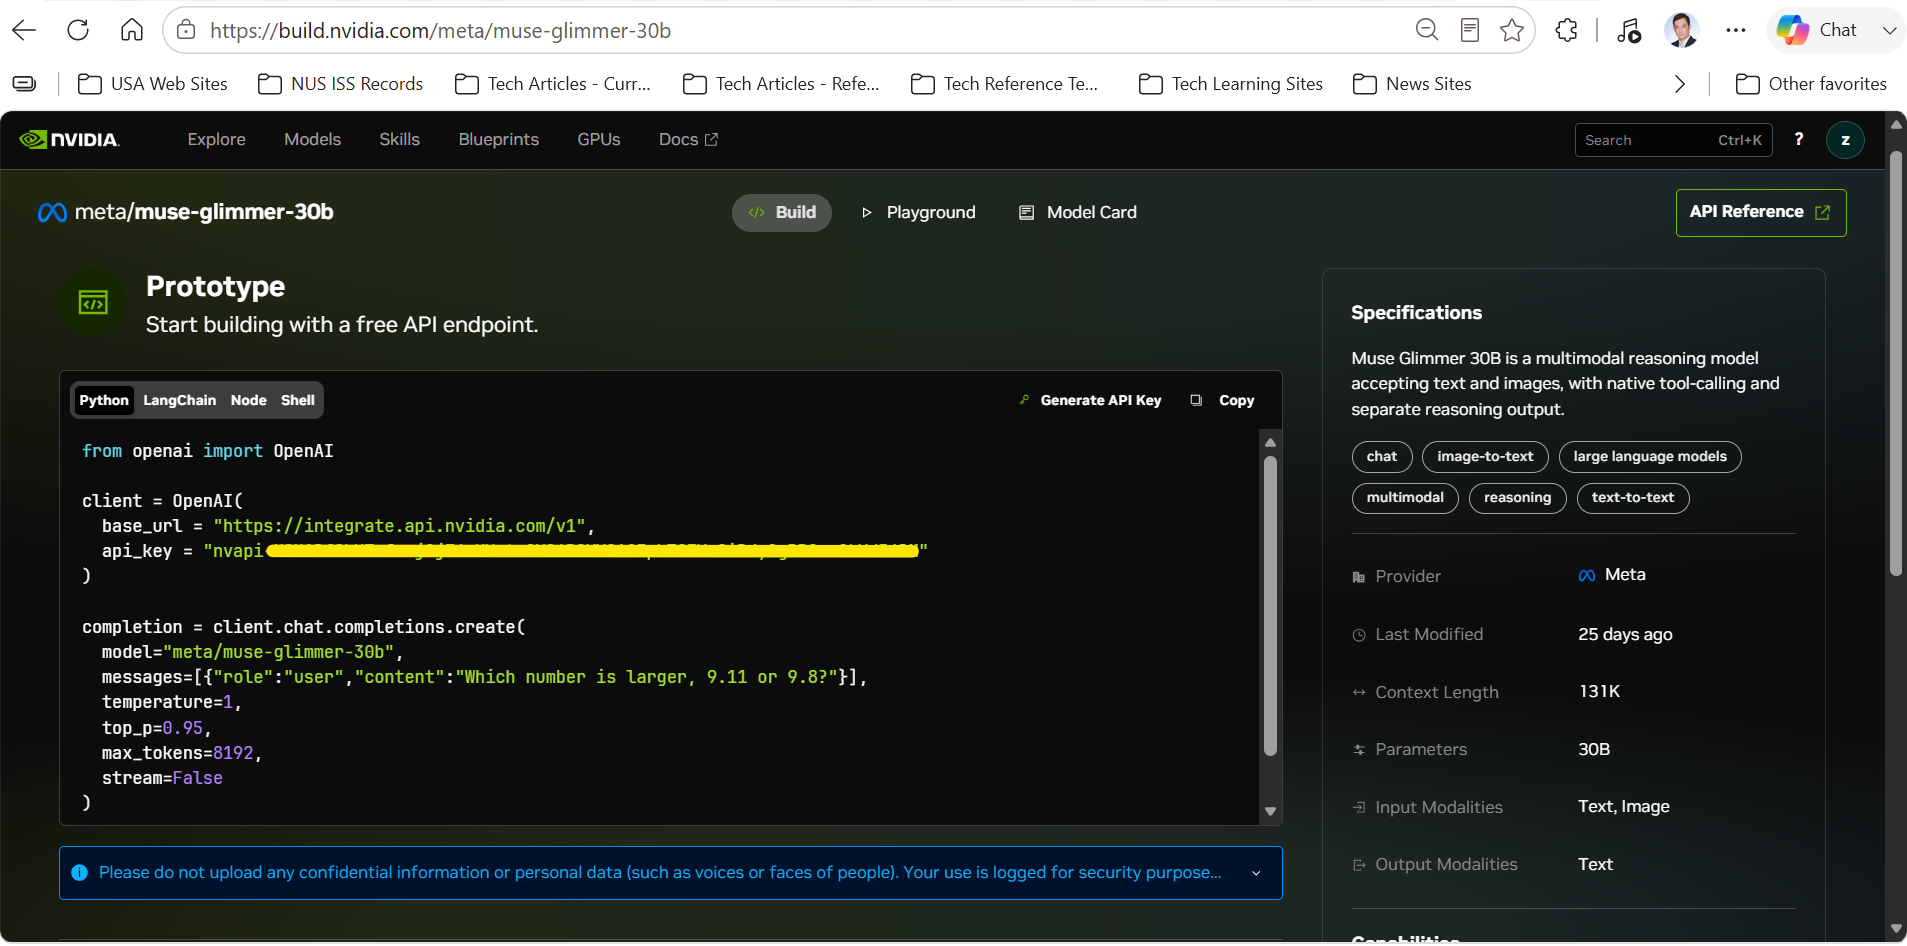
C# အတွက် Codes ကိုတော့ အောက်မှာထည့်ပေးထားပါတယ်။
using Microsoft.Agents.AI;
using Microsoft.Extensions.AI;
using OpenAI;
using OpenAI.Chat;
using OpenAI.Responses;
using System.ClientModel;


// ဒါက NVIDIA နဲ့ ချိတ်ရမယ့်
// API Key, Model, Endpoint Url တွေကို Variable တွေ ကြေငြာထားတာ
const string apiKey = "<YOUR_API_KEY>";
const string model = "openai/gpt-oss-20b";
const string endpoint = "https://integrate.api.nvidia.com/v1";

// ဒါက AI Agent တစ်ခုကို တည်ဆောက်လိုက်တာ
AIAgent agent = new OpenAIClient(new ApiKeyCredential(apiKey),
        new OpenAIClientOptions { Endpoint = new Uri(endpoint) })
    .GetChatClient(model).AsAIAgent(instructions: "You are good at telling jokes.", name: "Joker");

Console.WriteLine($"[{agent.Name} is thinking and responding...]");

// Agent ကို Streaming နဲ့ အဖြေတွေ စဥ်းစားပုံတွေကို ရိုက်ထုတ်ခိုင်းလိုက်တာ
await foreach (var update in agent.RunStreamingAsync("Tell me a joke about a pirate."))
{
    foreach (var item in update.Contents)
    {
        if (item is TextReasoningContent reasoningContent)
        {
            Console.Write($"\e[92m{reasoningContent.Text}\e[0m");
        }
        else if (item is TextContent textContent)
        {
            Console.Write(textContent.Text);
        }
        else if (item is UsageContent usageContent)
        {
            var d = usageContent.Details;
            Console.WriteLine();
            Console.WriteLine($"[tokens] input={d.InputTokenCount} output={d.OutputTokenCount} total={d.TotalTokenCount}");
        }
    }

}

Console.ReadLine();
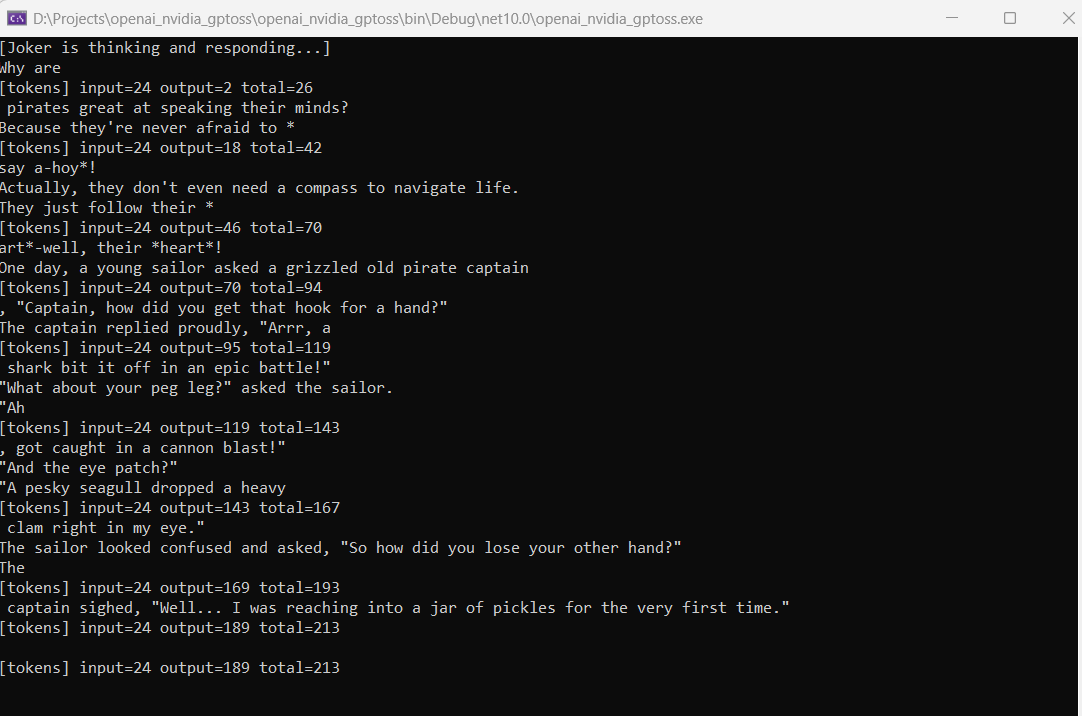
ဒါက အပေါ်က Code ရဲ့ ရလဒ်ပေါ့။
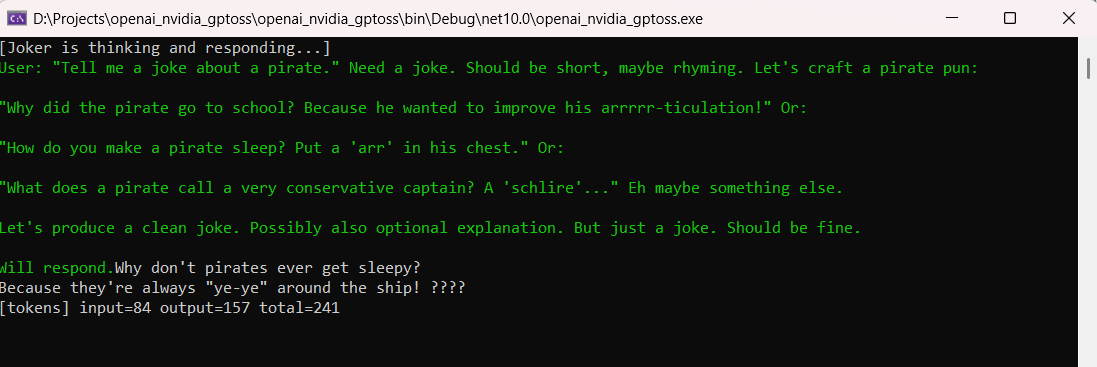
Hands On with Google AI Studio
Google ကလည်း AI Studio ဆိုပြီး LLM တွေကို စမ်းဖို့ Free Endpoint Url တွေထုတ်ပေးထားပါတယ်။
ပထမဆုံးက https://aistudio.google.com မှာ Register လုပ်ပါ။ API Key တစ်ခုလည်း Generate လုပ်ပါ။
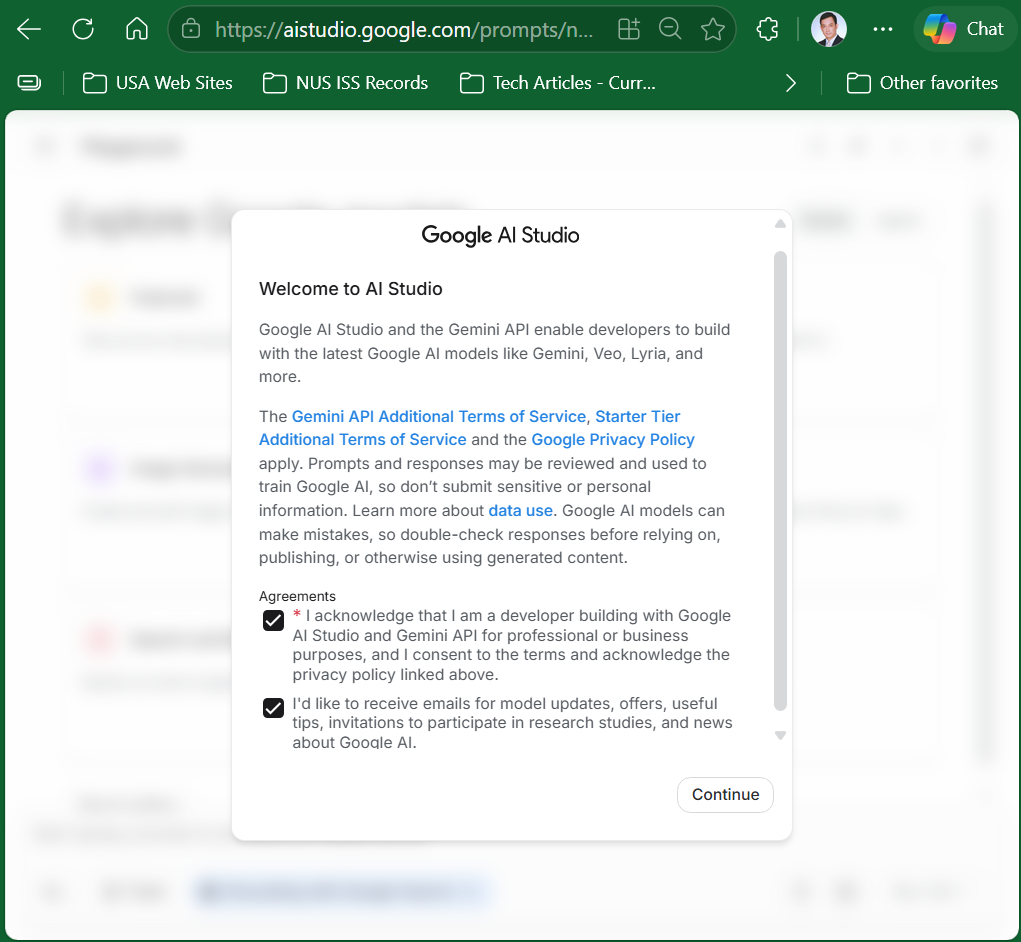
ပြီးရင် သူ့ရဲ့ Playground မှာ LLM တွေကို စပြီး စမ်းလို့ ရပါပြီ။
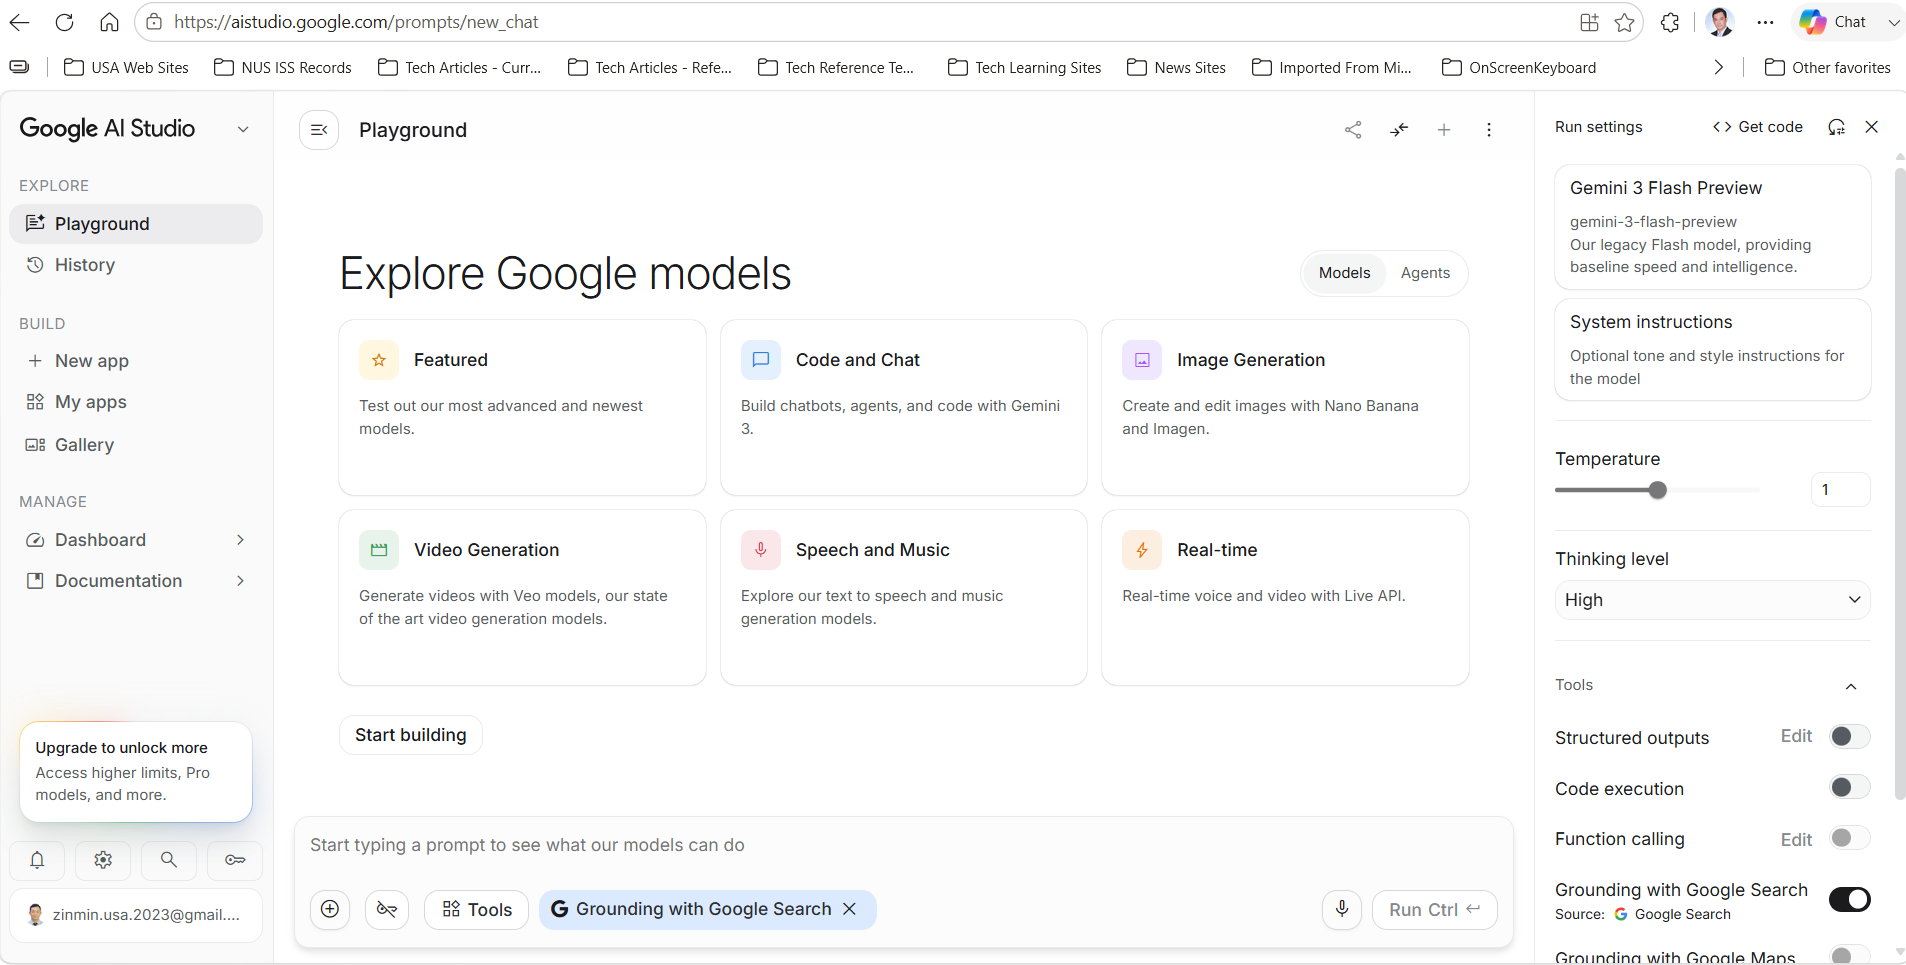
Microsoft C# Code မှာတော့ Google ရဲ့ Endpoint Url, Api Key, Model တို့ကို ပြောင်းပေးပြီး စမ်းကြည့်လို့ ရပါတယ်။
const string apiKey = "<YOUR_API_KEY>";
const string model = "gemini-3.8-flash";
const string endpoint = "https://generativelanguage.googleapis.com/v1beta/openai
Google က သူ့ရဲ့ Model မှာ default configuration အနေနဲ့ reasoning output ကို မပြတာမို့ output မှာ reasoning ပါမလာတာကို တွေ့ရမှာပါ။
ဒီနေ့ သင်္ခန်းစာကတော့ local မှာ စမ်းဖို့ခက်တဲ့သူတွေအတွက် Online Cloud မှာ အခမဲ့ စမ်းလို့ ရမယ့် LLM Inference တွေကို ရင်းနှီးအောင် ပြောပြပေးတာပါ။ နောက်သင်္ခန်းစာတွေမှာတော့ Microsoft Agent Framework နဲ့ Cloud LLM/Loal LLM တွေကို ချိတ်ဆက်အသုံးပြုပုံ၊ Streaming Response၊ Tool Calling နဲ့ Reasoning Configuration တွေကို လက်တွေ့ Coding နဲ့ ဆက်လက်လေ့လာသွားကြပါမယ်။
လေးစားစွာဖြင့်
ဇင်မင်း